Mastering Wig Creation: A Step-by-Step Guide
Essential Tools and Materials for Wig Making
To excel in how to make wigs, having the right tools and materials is crucial. Begin with a strong, sturdy wig block. This will serve as your wig’s foundation, onto which you will craft the style. You will also need a wig cap that fits snugly on the wig block. Wig caps come in different materials such as lace, monofilament, and nylon.
A set of fine tweezers is necessary for plucking hairs to create a natural-looking hairline. High-quality hair is essential; choose from synthetic fibers or real human hair, depending on your preference and budget. To attach the hair, you’ll need wig adhesive or sewing needles and strong thread.
Don’t forget the essential small tools – hair clips to section hair, sharp scissors for cutting and trimming, and a loop turner for knotting hair onto the cap. A steamer can help set the style, and T-pins can hold the wig in place while you work.
Keep a blueprint or pattern for hair placement and density chart handy. This will guide you as you work through the wig-making process. Finally, arm yourself with patience and a steady hand – precision and care are vital in creating a professional-looking wig.
Selecting the Right Hair for Your Wig
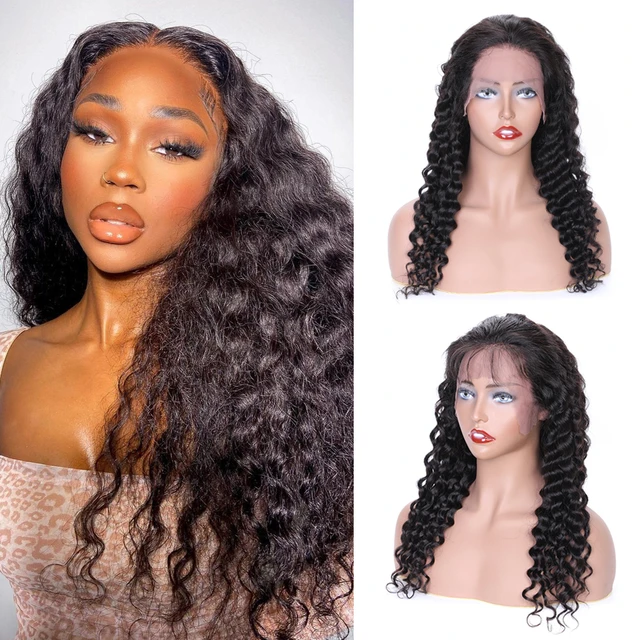
Choosing the right hair for your wig is pivotal. The hair’s quality affects both the look and the lifespan of the wig. When you learn how to make wigs, consider the two main types of hair available: synthetic fibers and human hair. Each comes with its own set of pros and cons.
For a budget-friendly option, synthetic fibers work well. They’re also easier to maintain since they retain their style after washing. However, synthetic hair doesn’t withstand heat well. This limits your options for styling.
In contrast, human hair offers a natural look and feel. It’s versatile, allowing you to style it as you would your own hair. But human hair can be expensive, and it requires more upkeep to maintain its appearance. When selecting human hair, look for high-quality options that have been properly processed and treated to avoid tangling and shedding.
Color and texture are also key factors in your selection. The hair must match the wearer’s natural color and texture for a seamless look, unless you’re aiming for a bold statement. You can find hair in a variety of shades and textures to suit any preference.
Remember to consider the hair’s length, too. Think about the style you wish to create. Long hair offers more styling possibilities but can be harder to maintain. Short hair might limit styling choices but is easier to handle.
In all choices, balance your needs for realism, style flexibility, and care requirements. This brings you one step closer to mastering how to make wigs that are both beautiful and practical.
Constructing the Wig Cap: The Foundation of Your Creation
The wig cap forms the base for your wig and dictates its fit and comfort. A well-constructed wig cap is critical. It ensures a secure and natural fit for the wearer. Let’s break down the steps in constructing this essential component.
First, choose the right cap material. Options include lace, monofilament, and nylon. Lace caps provide a natural hairline and allow the scalp to breathe. Monofilament caps mimic the look of natural scalp. Nylon caps are durable and affordable.
Next, measure the wearer’s head. Ensure the wig cap fits snugly without causing discomfort. Use a flexible measuring tape to get the size right.
Now, stretch the wig cap over the wig block. The block should match the wearer’s head size for accuracy. Secure the cap with T-pins around the perimeter. Make sure the cap is smooth and wrinkle-free.
Mark the hairline on the cap using a fabric marker. This helps in hair placement later. Think about the hair density you will need. This guides how much hair you will add to the cap.
When you learn how to make wigs, precision in constructing the cap is key. Practice ensures a professional result. Take your time here – it’s the foundation for your entire creation.
Crafting the Hairline and Adding the Hair Strands
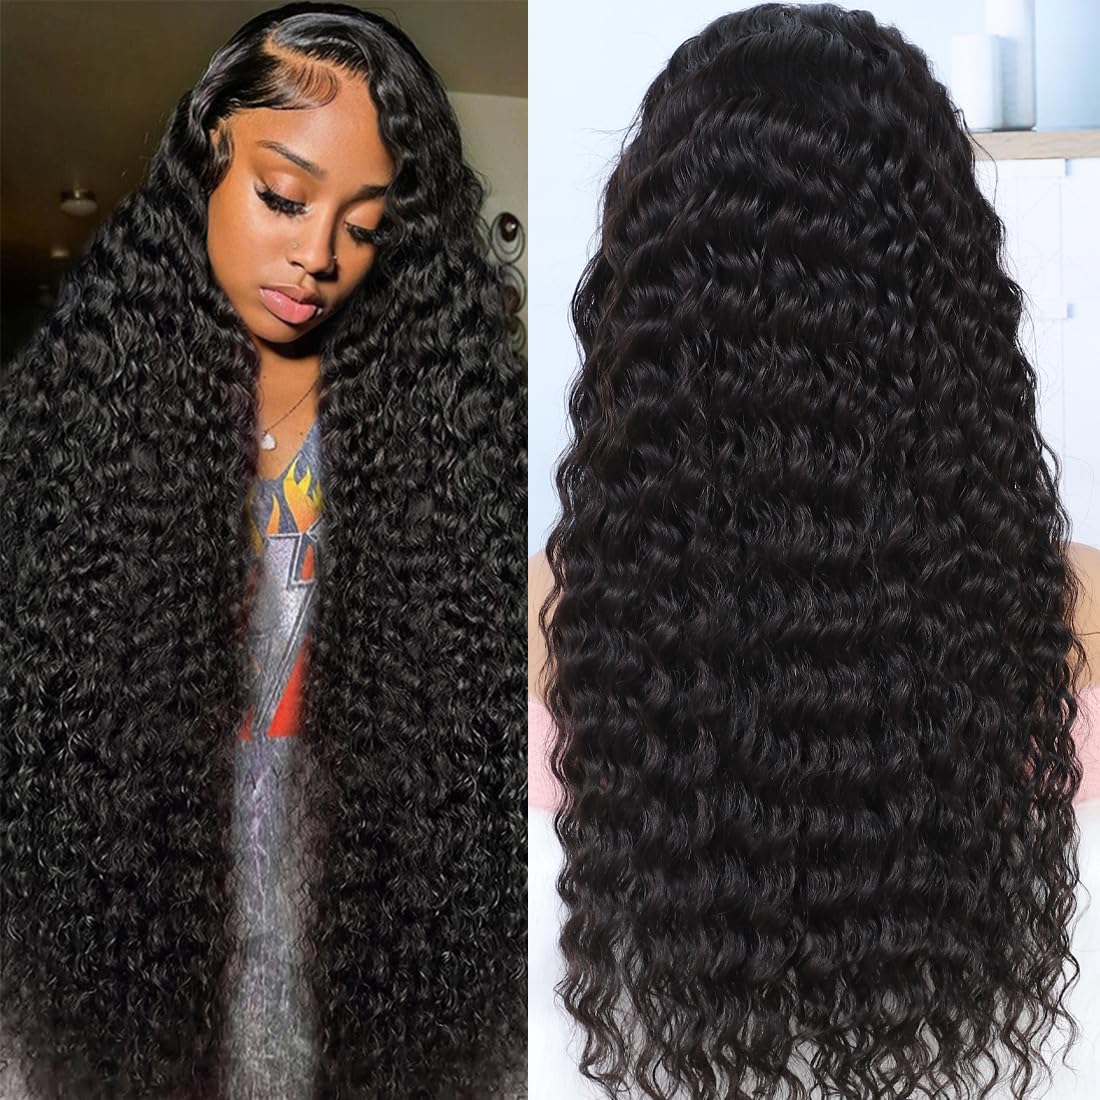
Crafting a natural-looking hairline is crucial when learning how to make wigs. Start with your tweezers and carefully pluck hairs along the front of the wig cap. This will create a realistic hairline. Aim for gradual thinning of hair as you reach the edges to mimic natural hair growth patterns.
Next, select your hair strands. If using real hair, match the hair’s color and texture to the wearer. For synthetic hair, choose the closest texture and color to the desired look. Cut the hair to the preferred length.
Begin adding the hair strands. Use either wig adhesive or the sewing method. With adhesive, apply a small amount on the cap and press the hair strands into place, working from the back to the front. For sewing, thread your needle with strong thread, tie a knot at the end, and start from the bottom layer of the cap, sewing in the hair wefts layer by layer.
Ensure that the density of the hair increases gradually as you move to the top of the head. Be patient and meticulous in adding the hair. Each strand contributes to the overall look of the wig. A well-crafted hairline and well-placed hair strands are essential for a realistic and attractive wig.
Knotting Techniques for a Natural Look
To achieve a natural-looking wig, mastering various knotting techniques is essential. Knotting refers to the process of attaching hair strands to the wig cap. Here are some steps and tips to perfect your knotting skills.
Start with a loop turner or a ventilating needle. This tool helps to tie the hair onto the lace cap. It requires a delicate touch and a good eye for spacing. To begin, insert the needle through a hole in the lace cap. Hook onto a small number of hairs — typically one to three strands. Pull these strands back through the hole to create a loop.
Once you have a loop, you’ll need to secure it. Slide the loop onto the latch and pull the rest of the hair through. This creates a single knot. Single knots are best at the front hairline for their natural look. But they can be less durable than double knots.
Learn to make double knots for areas needing more density. To make a double knot, repeat the looping process twice before pulling the hair ends through. Double knots provide more security, ensuring the hair stays in place.
Be sure to vary the knotting to avoid a grid-like pattern. This can be a telltale sign of a wig. Use random spacing to mimic the natural irregularities of hair growth.
Finally, always knot in the direction of the hair’s natural fall. This means considering the hairstyle you want to achieve. Knot the hair to flow backward, forward, or to the side, as needed.
Practice makes perfect. Over time, you’ll get faster and more precise with your knotting technique. Soon, your hand-tied wigs will look as natural as real hair, thanks to your dedication to learning how to make wigs.
Styling and Cutting Your Wig to Perfection
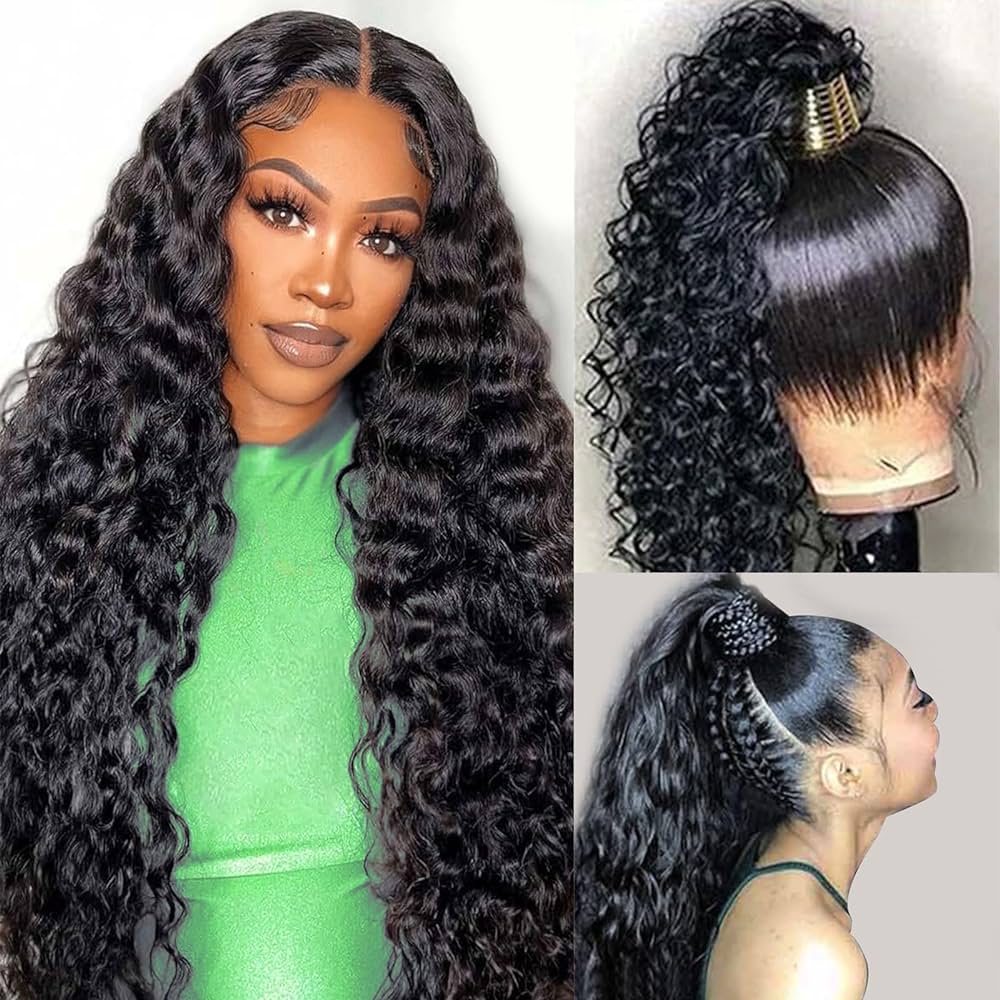
Once you’ve mastered the process of constructing the wig cap and adding the hair strands, styling and cutting are your next steps to ensure your wig looks natural and suits the desired look. This phase is where your creativity shines and brings the wig to life. Here is how to navigate through this crucial stage:
Start by deciding on the hairstyle. Consider the shape of the wearer’s face and their personal style. Go for cuts and styles that complement these factors. A well-chosen style can enhance the wig’s overall appearance.
Next, use sharp scissors for cutting. Clean, precise cuts are crucial for a polished look. Begin by trimming the length, if necessary. Then, work on shaping the wig to the chosen style.
Layering is an important technique when you learn how to make wigs. Layers add movement and texture, creating a more natural look. If the wig is long, consider adding layers around the face to frame it gently.
Thinning out the wig can also be beneficial. Use thinning shears to remove bulk and create a more natural hair density. Be cautious not to overdo it; remove a little at a time.
Customize the bangs or the fringe, if the style calls for it. Bangs require careful attention to detail. Trim them to the right length and thickness to suit the wearer’s features.
Finalize with styling. Use heated tools if the wig is made with human hair. Remember, synthetic hair is more sensitive to heat. For synthetic wigs, opt for heat-free styling methods to avoid damage.
Practice is key to achieving perfection in styling and cutting wigs. As you hone your skills, your wigs will become more refined and bespoke. A well-styled wig is the crowning achievement of your wig-making process, showcasing all the hard work that has gone into learning how to make wigs.
Maintenance and Care for Your Handmade Wigs
Proper maintenance is crucial for the longevity of your handmade wigs. Here’s how to keep them in top shape:
Start by detangling the hair gently before washing. Use a wide-tooth comb, and work from the ends up to the roots.
Wash your wig sparingly to prevent wear and tear. If it’s made of human hair, treat it like your own. Use lukewarm water and a mild shampoo. For synthetic wigs, opt for products designed specifically for synthetic fibers.
Condition the wig after each wash. For human hair, a quality hair conditioner works well. For synthetic hair, use a conditioner that’s made for synthetic wigs.
Avoid wringing the hair. Instead, blot out excess water with a towel. Lay the wig flat on a dry towel and let it air dry.
Style the hair only when it’s completely dry. If you must use heat on human hair, use it sparingly. Keep heated tools away from synthetic wigs, unless they are heat-resistant.
Store your wig on a wig stand or mannequin head. This helps the wig keep its shape and prevents tangling.
Keep your wigs away from direct sunlight when not in use. Sunlight can fade the hair and weaken the fibers.
Regularly check for any loose strands or signs of wear. Make repairs as needed to extend the life of your wig.
By following these tips, you help ensure that your handmade wigs stay looking fresh and beautiful for years to come. Remember, consistent care is the key to maintaining the quality and appearance of your creation.
Overcoming Common Challenges in Wig Making
When diving into how to make wigs, you might face several challenges. But don’t worry. With the right approach, most obstacles can be addressed effectively. Here’s how to tackle some common issues you might encounter.
Selecting the Best Cap Material
Choosing the right cap material can be tricky. Consider the wearer’s needs and the wig’s purpose. For natural looks, lace is ideal. But for durability and cost, nylon might be better.
Achieving a Natural Hairline
Crafting a natural hairline is tough. Use tweezers to pluck hairs carefully at the front. Mimic the natural thinning of hairlines for the best effect.
Matching Hair Colors and Textures
Matching hair correctly is key. Whether you’re using human or synthetic hair, ensure a seamless blend with the wearer’s natural hair, unless a contrasting style is desired.
Ensuring Comfortable Fit
A well-fitted wig cap is essential. Take accurate measurements of the head and adjust the fit as you work to avoid discomfort for the wearer.
Handling Hair Knotting
Knotting can be meticulous work. Practice using a loop turner or ventilating needle to create secure and natural-looking knots.
Styling Options for Synthetic Hair
Synthetic wigs limit styling due to heat sensitivity. Explore heat-free styling techniques to maintain the integrity of the wig.
Maintaining Hair Quality Over Time
Wigs need care to last. Gently wash and condition, and use a wide-tooth comb to detangle without causing damage.
By focusing on these solutions, you’ll improve your technique and overcome challenges in wig making. Remember, practice is pivotal in mastering how to make wigs.
