How to Apply Hood Hair Dryer
Contents
hide
The Ultimate Guide to Using Hood Hair Dryers for Salon-Quality Styling at Home
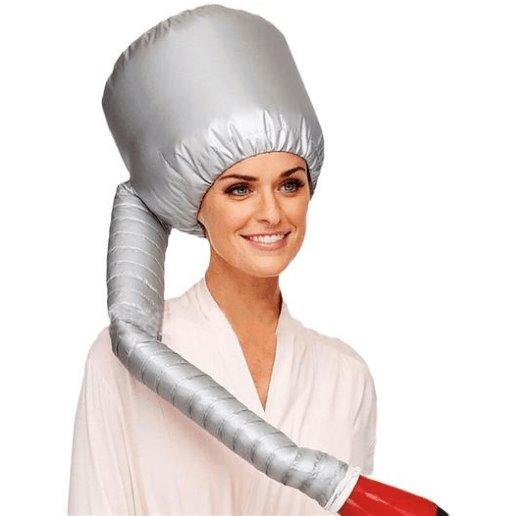
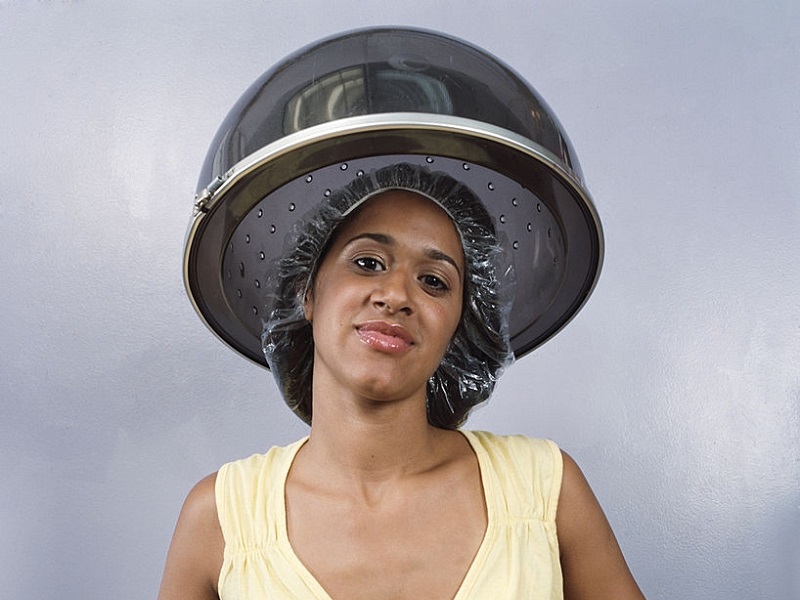
Before blow dryers became commonplace in homes, hood hair dryer were the go-to for at-home styling and treatments. Found in every salon, these dryers have a long dome-shaped hood that fits over your head, blasting it with heated air to quickly dry and set hair.
While blow dryers provide more versatility for free styling, hooded dryers offer many unique benefits. The enclosed heat cuts down drying time substantially compared to handheld dryers. Hoods are ideal for deep conditioning treatments as they help the products penetrate optimally. They’re also great for setting long-lasting styles like pin curls, roller sets or perm rods.
With hooded hair dryers making a major comeback, this guide covers everything you need to know. You’ll learn about the different options, using them safely and effectively for various styling needs, and how to integrate hood drying into your routine for salon-caliber results at home.
Types of Hood Hair Dryers
There are two main varieties of hooded dryers:
Wall-Mounted Hood Dryers
Affixed to the wall, these space-efficient dryers are compact yet powerful. They’re commonly found in salons for simultaneous drying. Models like the Tourmaline Tools wall-mount dryer has adjustable height and timer options.
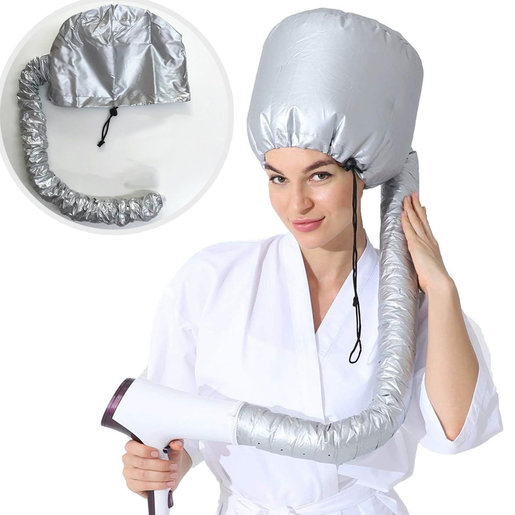
Standalone/Rolling Hood Dryers
These dryers have a wheeled base providing flexibility to roll them to storage when not in use. Many have adjustable heights to accommodate different users. Popular models are the Gold N Hot and Conair hooded dryers. These give salon capabilities at home.
Choosing the Right Hood Hair Dryer
Consider the following when selecting a hood dryer:
- Budget: Hood dryers range from $70 – $700. Evaluate frequency of use and longevity.
- Space: Measure area available, factoring in clearance needed when fully assembled.
- Heat Settings: Look for multiple heat/speed options for custom drying.
- Special Features: Timers, ion generators, retractable cords, and storage baskets all provide added convenience.
Also, ensure the hood size suits your head, particularly if wearing rollers. And verify it’s compatible with common treatments like deep conditioning and setting styles.
Setting Up and Using Your Hood Hair Dryer
For wall-mounted dryers, carefully install by following all instructions. Position at a comfortable height. Standalone dryers require minimal setup – simply wheel into place near an outlet when needed.
Prep your hair by sectioning, brushing through evenly, then applying conditioners, masks or setting products as desired. For deep conditioning, apply a hydrating hair mask across all strands. When setting styles, evenly distribute setting lotion first.
Adjust the dryer height so the hood rests comfortably over your head. Set heat to medium-high and airflow to high for maximum drying power. Use a timer if your dryer has one to avoid over-drying. Keep a magazine or your phone to pass time hands-free.

Mastering the Art of Using a Hood Hair Dryer
Preparation
How to apply hood hair dryer?Before diving into the application process, proper preparation is key. Begin by selecting the right hood hair dryer for your needs, considering factors like portability, heat settings, and compatibility with your hair type. Once you’ve got your dryer in place, whether it’s a wall-mounted or standalone model, gather all necessary tools and products – including deep conditioners, styling products, and sectioning clips.
Step 1: Position Your Dryer
How to apply hood hair dryer?Adjust the height of a standalone hood dryer so that the hood comfortably encloses your head without touching it. For a wall-mounted dryer, ensure the chair is placed optimally beneath the hood. Always check that the dryer is stable and secure before use.
Step 2: Prepare Your Hair
How to apply hood hair dryer?Start with clean, damp hair. Depending on your goals, apply the appropriate hair treatment or styling product evenly throughout your hair. If deep conditioning, generously coat every strand; if setting curls, distribute your preferred setting lotion or foam.
Step 3: Section Your Hair
Using sectioning clips, divide your hair into manageable parts. This ensures even distribution of heat and allows for thorough processing of treatments or setting of styles.
Step 4: Sit Under the Hood
Gently place your head under the hood while maintaining a comfortable posture. Ensure that all sections are fully enclosed within the dryer’s hood for maximum heat exposure.
Step 5: Adjust Settings
Turn on the hood hair dryer and select the ideal heat and speed settings according to your hair’s needs and the product instructions. Most treatments require a medium to low heat setting to avoid damage.
Step 6: Monitor Time and Temperature
How to apply hood hair dryer?Keep track of the time spent under the dryer. Different treatments and hairstyles may call for different durations, ranging from 10 minutes for quick sets to an hour or more for deep conditioning. Check your hair periodically to prevent overheating or over-drying.
Step 7: Post-Dryer Care
Once the allotted time has passed, turn off the dryer and allow your hair to cool down slightly. This helps set the style and lock in moisture. Remove the sectioning clips and gently detangle your hair using a wide-tooth comb.
Tips for Effective Use
1. Time Management
Figure 10-15 minutes for deep conditioning, while roller sets may need 30-45 minutes under the dryer. Check hair frequently to avoid over-processing. For perms, follow exact timer instructions. Set a reminder on your phone to check hair.
2. Safety Measures
Properly install wall-mount dryers to prevent detachment. Keep clear of water to avoid electrical danger. Use a heat protectant if hair is frequently heat-styled. And never leave dryers unattended – remain seated the entire time in use.
3. Styling Techniques
When setting pin curls or rollers, ensure they are secured snugly to the scalp so the shape holds. Apply setting lotion generously from roots to ends to keep hair smooth when removing rollers. Sit under the dryer until hair is fully dried and cool.
Post-Dryer Care and Maintenance
After drying, allow hair to cool completely before removing rollers or pins. Gently unravel curls or rollers starting from the ends to maintain the curl shape. Finger style carefully to break up sections.
Clean hood lining regularly to prevent product buildup. Wipe down the exterior with a dry cloth. Ensure the removable filter cover is cleaned monthly for optimal airflow. Follow all safety guidelines and operating instructions.
Conclusion
While more time intensive than a blow dry, hooded hair dryers offer many perks. The concentrated heat cuts down tremendously on drying time while minimizing exposure to high heat. Hoods open up a world of long-lasting styles and intensive conditioning treatments to do in the comfort of your home.
Integrating periodic hooded drying sessions will leave hair smoother, shinier, and more manageable overall. Your locks will have that just-left-the-salon feel and appearance. As hooded dryers continue to rise in popularity for at-home use, take advantage of this styling workhorse. Your hair will thank you!