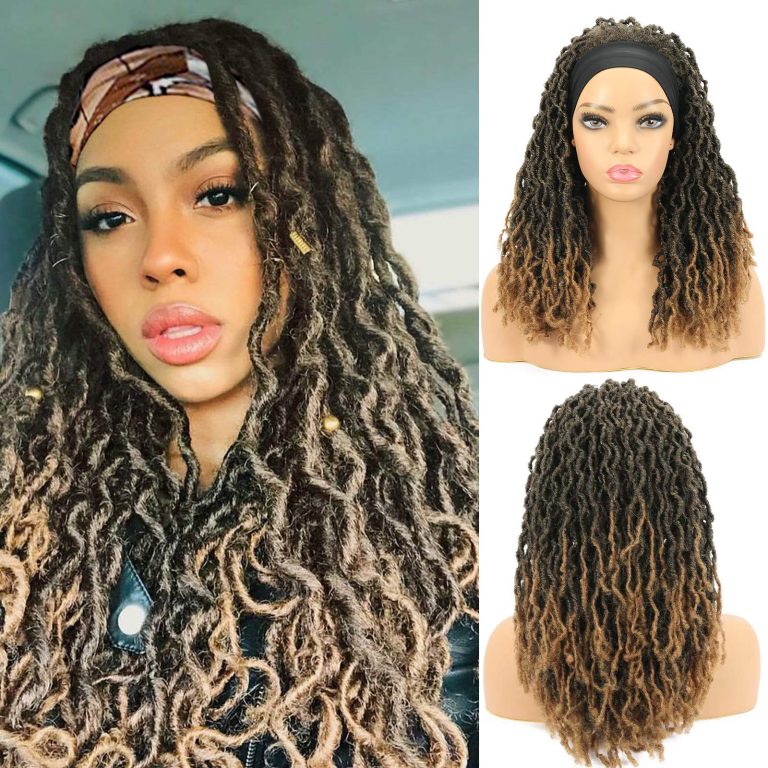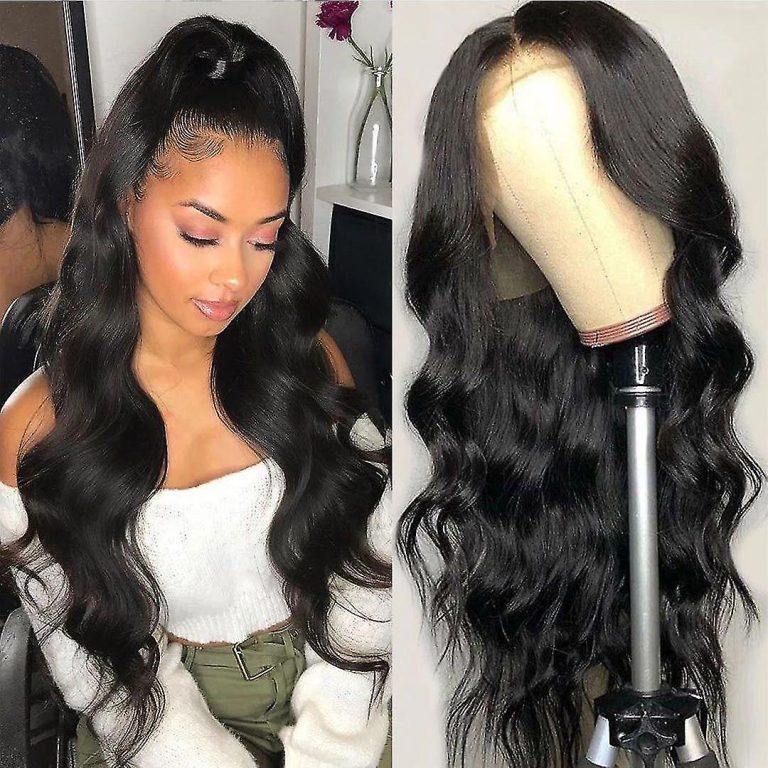
Wet and Wavy Wig
Wet and Wavy Wigs: The Ultimate Guide
Wet and wavy wig have taken the hair world by storm. These versatile hairpieces allow you to rock luscious, soaking wet curls one day, then glam up with voluminous, bouncy waves the next. Get ready to dive into the world of wet and wavy wig styling!
What are Wet and Wavy Wigs?
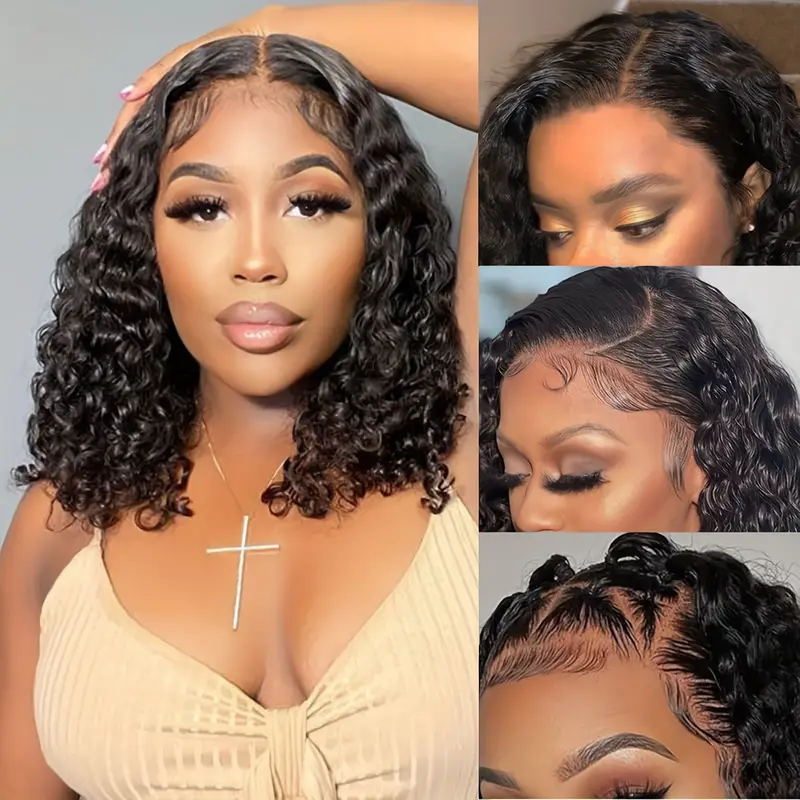
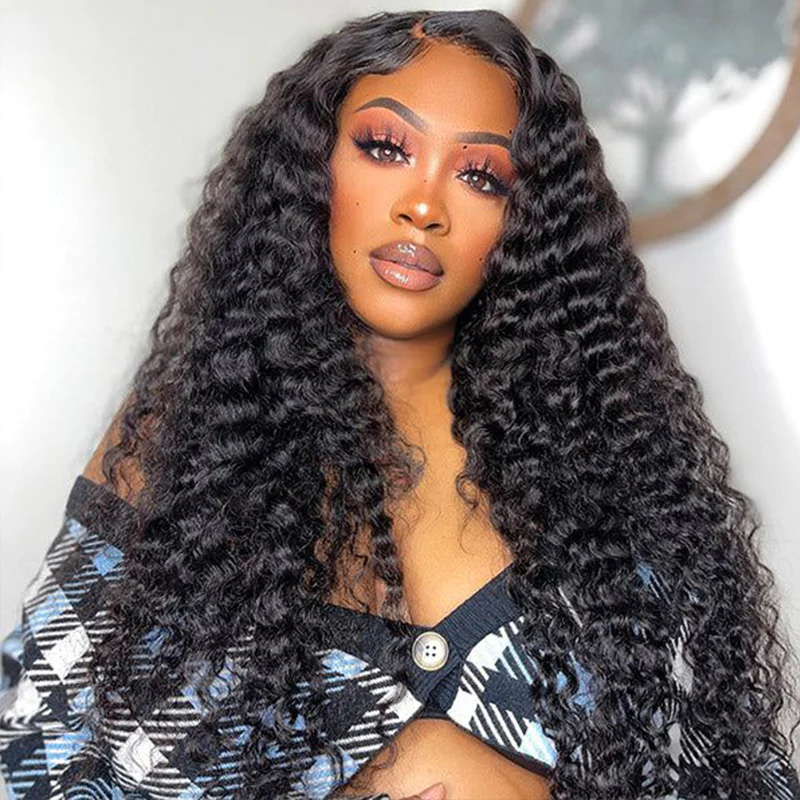
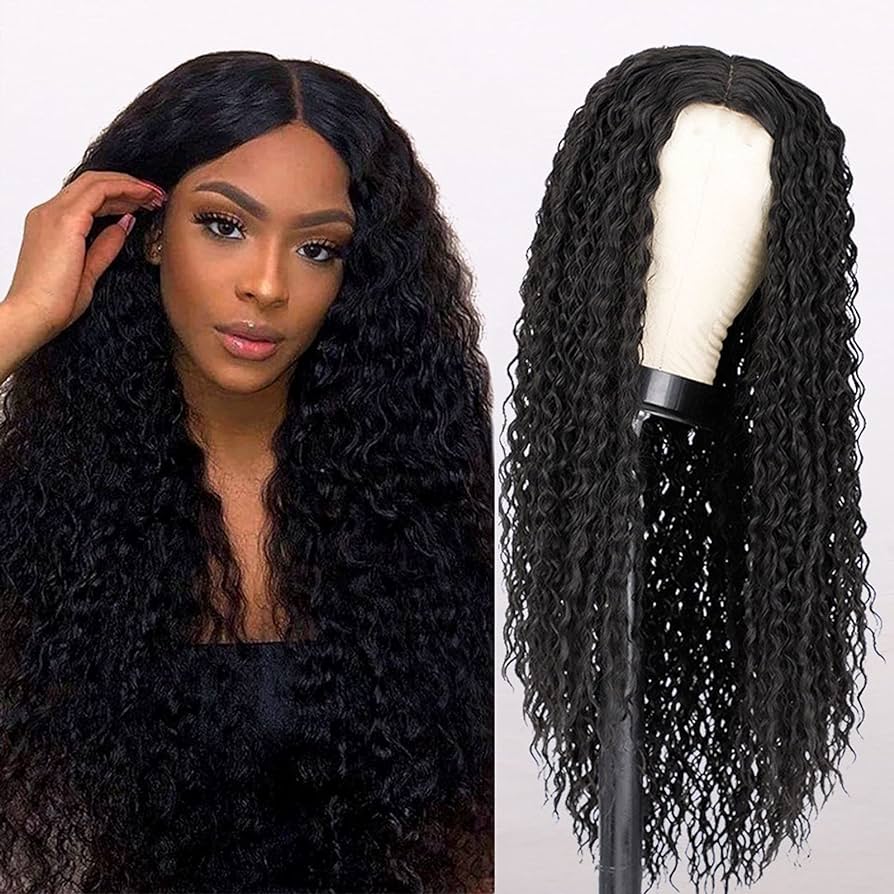
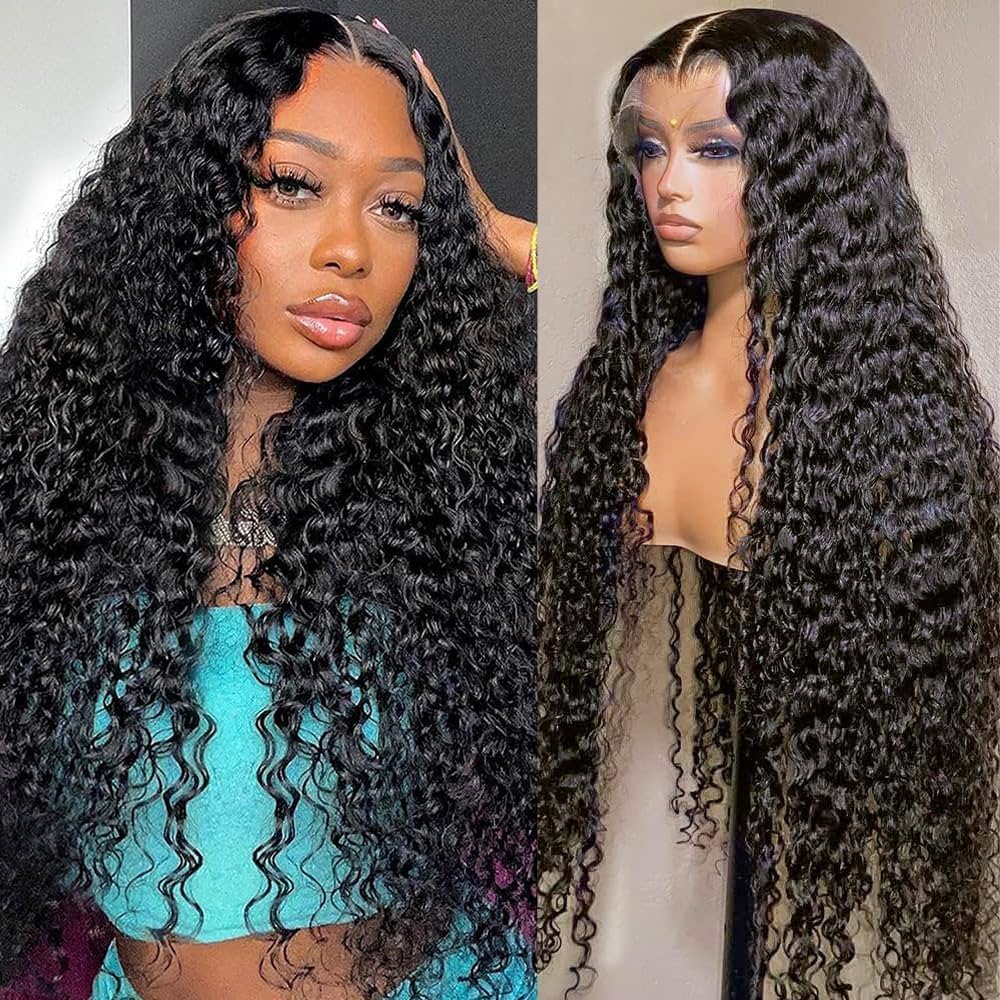
First off, let’s define what wet and wavy wigs are. These wigs are made from high-quality synthetic fibers designed to mimic the appearance of human hair when wet or damp. The fibers are pre-styled into tight, defined curls resembling freshly washed and scrunched natural hair.
However, the magic happens when you work the fibers. By finger combing and scrunching the curls, you can transform the wig from a wet, stringy look into gorgeous, free-flowing waves. This shape-shifting ability allows you to create multiple hairstyles from a single wig.
Benefits of Wet and Wavy Wigs
Wet and wavy wigs offer several advantages over traditional wigs and hair extensions:
- Versatility: With a simple switch from defined curls to voluminous waves, you can completely change your look. One wig, infinite possibilities.
- Low Maintenance: These wigs are made from synthetic, high-quality fibers that resist frizz and hold their shape well. Less time restyling equals more time slaying.
- Damage-Free: Replace damaging heated styling tools with finger combing and scrunching the wig fibers. Your natural hair stays safe and healthy underneath.
- Cost-Effective: High-quality wet and wavy wigs can last over a year with proper care. An affordable way to experiment with different styles!
Choosing Your Wet and Wavy Wig
With so many options on the market, here are some tips for selecting the perfect wet and wavy wig:
- Fiber Type: Look for heat-resistant fibers that can withstand light styling with hot tools if desired. Popular options include Kanekalon and heat-defiant fibers.
- Density: Opt for higher density (150% or more) to achieve full, bouncy waves. Lower densities may look stringy or thin when brushed out.
- Cap Construction: Glueless, lace front, and 360 lace wigs offer the most natural, seamless hairline. Capless or open cap styles allow maximum breathability.
- Length: Shorter styles often curl and wave more uniformly. Longer wigs require more bunching and separating to avoid stringy ends.
- Color: Select tones that complement your skin tone. Highlights or roots can create gorgeous dimension.
Installing Your Wet and Wavy Wig
Proper installation is key for a natural, long-lasting result. Here is a quick overview:
- Prep: Braid or slick back your natural hair to create a smooth base. Use a wig grip or headliner for added security.
- Lace Cutting: For lace front wigs, carefully cut the lace away from the hairline in small sections for an invisible blend.
- Adhesive: Apply a wig adhesive like Bold Hold along the hairline and edges. Let it become tacky before applying the wig.
- Positioning: Align the wig hairline with your natural one in the mirror, then press firmly to secure the adhesive.
- Baby Hairs: Use an old toothbrush or edge control to smooth and style any baby hairs for a natural look.
Styling Wet and Wavy: Defined Curls
Now for the fun part – bringing your wig to life! For tight, corkscrew curls, follow these steps:
- Start Damp: Lightly mist the wig fibers with water or curl refresher spray until slightly dampened.
- Section and Scrunch: Separate the hair into sections and scrunch upwards toward your scalp using a scrunching motion with your hands.
- Define Curls: For extra definition, apply a curl enhancing cream, mousse or gel. Distribute evenly, then scrunch again.
- Shake and Set: Give the wig a gentle shake, then allow curls to set by sitting under a hooded dryer or air drying. Avoid touching until fully dry.
Styling Wet and Wavy: Voluminous Waves
Alternatively, create romantic, free-flowing waves like this:
- Begin Dry: Start with the wet and wavy wig fully dry. Spritz with a light holding spray if desired.
- Separate Sections: Divide hair into manageable sections using sectioning clips.
- Palm Roll: Take one section and twirl it inward with your palm in alternating directions to create waves.
- Finger Tousle: Once set, gently rake your fingers through the waves to loosen and create movement.
- Finishing Touches: Lightly mist with a flexible hold hairspray and fluff roots for added volume if needed.
Maintaining Your Wet and Wavy Wig
To keep your wet and wavy wig looking fresh, follow these simple maintenance tips:
- Gentle Cleansing: Use a sulfate-free, wig-safe shampoo and conditioner every 7-10 wears. Rinse in cool water and allow to air dry.
- Detangling: Gently detangle shed hairs using a wig brush or fingers while the wig is dry. Never brush wet fibers.
- Storing Properly: Store wigs on a breathable wig head when not in use. Avoid excessive heat and humidity.
Final Thoughts
Wet and wavy wigs offer unbeatable versatility and styling ease. With this guide, you’ll be an expert at rocking lush curls or cascading waves – all from one simple hairpiece! Embrace effortless hair changes with wet and wavy wigs.
In conclusion, the wet and wavy wig provides a convenient and versatile option for individuals seeking a natural and effortless hairstyle. With its ability to mimic the look of damp, tousled hair, this type of wig offers a trendy and modern aesthetic. The low-maintenance nature of wet and wavy wigs makes them a practical choice for those with busy lifestyles. The wig’s adaptability to different styling methods, such as braiding or twisting, adds to its appeal, allowing for various looks without the need for constant restyling.
Additionally, the texture and movement of the wet and wavy wig offer a realistic and dynamic feel, enhancing the overall appearance. Whether it’s for everyday wear or special occasions, this type of wig provides an easy and stylish solution for achieving effortlessly chic hair. With an array of lengths and colors available, individuals can find a wet and wavy wig that suits their personal style and preferences, making it a popular choice in the world of wigs and hairpieces.
